How to install network printer in Windows XP?
You follow below steps to install network printer in Windows XP.
Steps:
- Click on Start Menu.
- Then click on Control Panel.

- After that click on Printer and Other hardware.

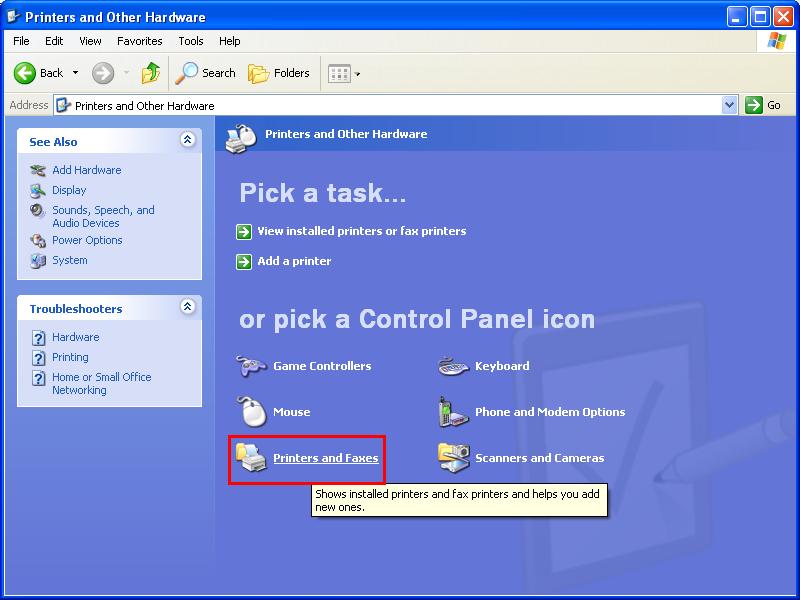
- Then click on Printers and Faxes.

- After that click on Add a Printer.

- Then opens Add Printer Wizard and click on Next button.

- Then click on A network printer,or a printer attached to
another computer option button and then click on Next button.

- After that click on Browse for a printer option button.
- Then click on Next button.

- Then select the printer you want to install and click on Next button.
- After that click on Yes button and then click on ok button.
- Then click on Browse button.
- Then select available “.inf”file click on Open button and then click on ok button.
- After that the printer driver will be installed and you will be asked if you want to set the printer as default. Choose the option you want to(Yes,No).
- Then click on Next and then close the 'Add a printer' wizard.


This is how you can install network printer in Windows
XP.
No comments:
Post a Comment